
Sourdough bread is a delicious and nutritious alternative to regular bread, but it can be tricky to get the perfect loaf. One of the most common issues when baking sourdough bread is that it won’t keep its shape. The primary reason why your sourdough is slack, loose, and unable to hold its shape is due to undermixing. To ensure sourdough holds its shape, you must understand the role of flour, gluten development, proofing, shaping, and water in the dough.
This article will examine some reasons why sourdough won’t hold its shape and how to ensure that it does.
Reasons Why Sourdough Doesn’t Hold Its Shape
Below are some of the reasons why sourdough won’t hold its shape:
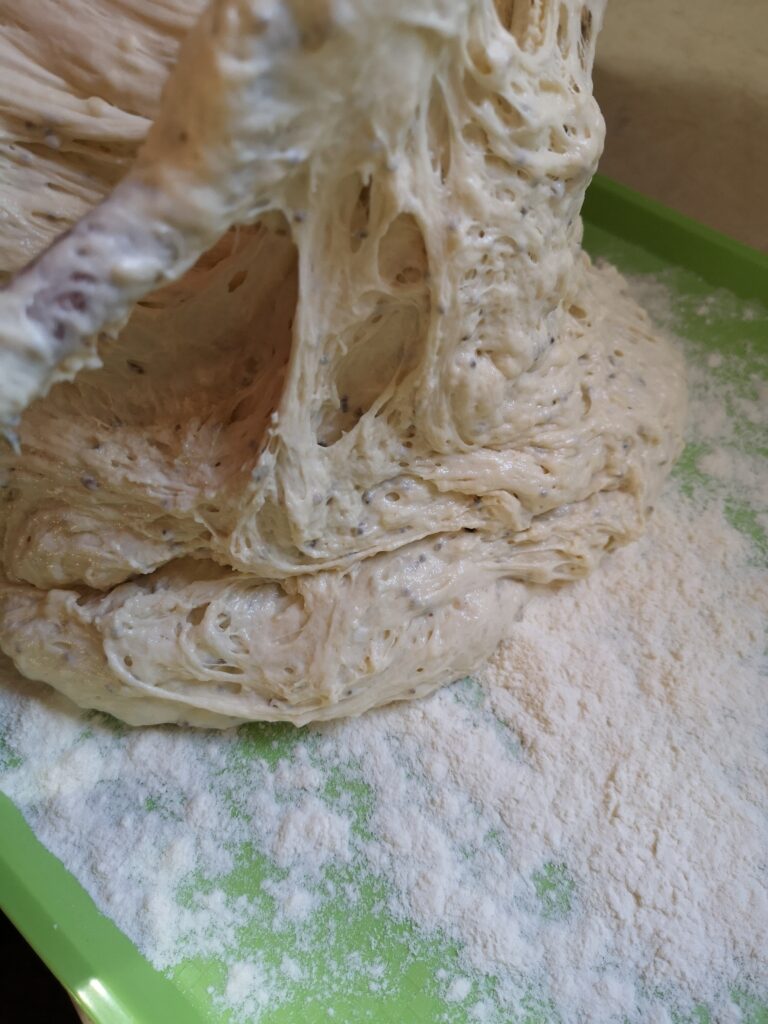
- Undermixing: Insufficient mixing of the ingredients leads to an incomplete gluten network. Mixing is essential to ensure an even dispersion of hydration (water) more evenly throughout the dough. If the dough is not mixed properly, it will not have enough strength to hold its shape.
- Weak Gluten Development: Gluten is what gives bread elasticity. If the gluten development is weak, the dough will not have the strength to hold its shape.
- Over-Proofing: If the dough is proofed (rested after shaping) for too long, the gluten strands will become too relaxed and the dough will be unable to hold its shape. When the dough is rested for too long after shaping, the air bubbles within the dough will pop, causing a bread that is too dense.
- Poor Shaping: If the dough is not properly shaped, it will not be able to hold its shape.
- Too Much Water: Too much liquid in the dough will prevent it from forming a strong gluten network and it will be sticky and unable to hold its shape.
The Role of Flour in Shaping the Sourdough Bread
Flour is a critical ingredient for successfully making sourdough bread. It helps to create a strong gluten network, which is essential for holding its shape. The gluten strands are what give the dough its structure and strength. So, without a strong gluten network, the dough won’t be able to hold its shape.
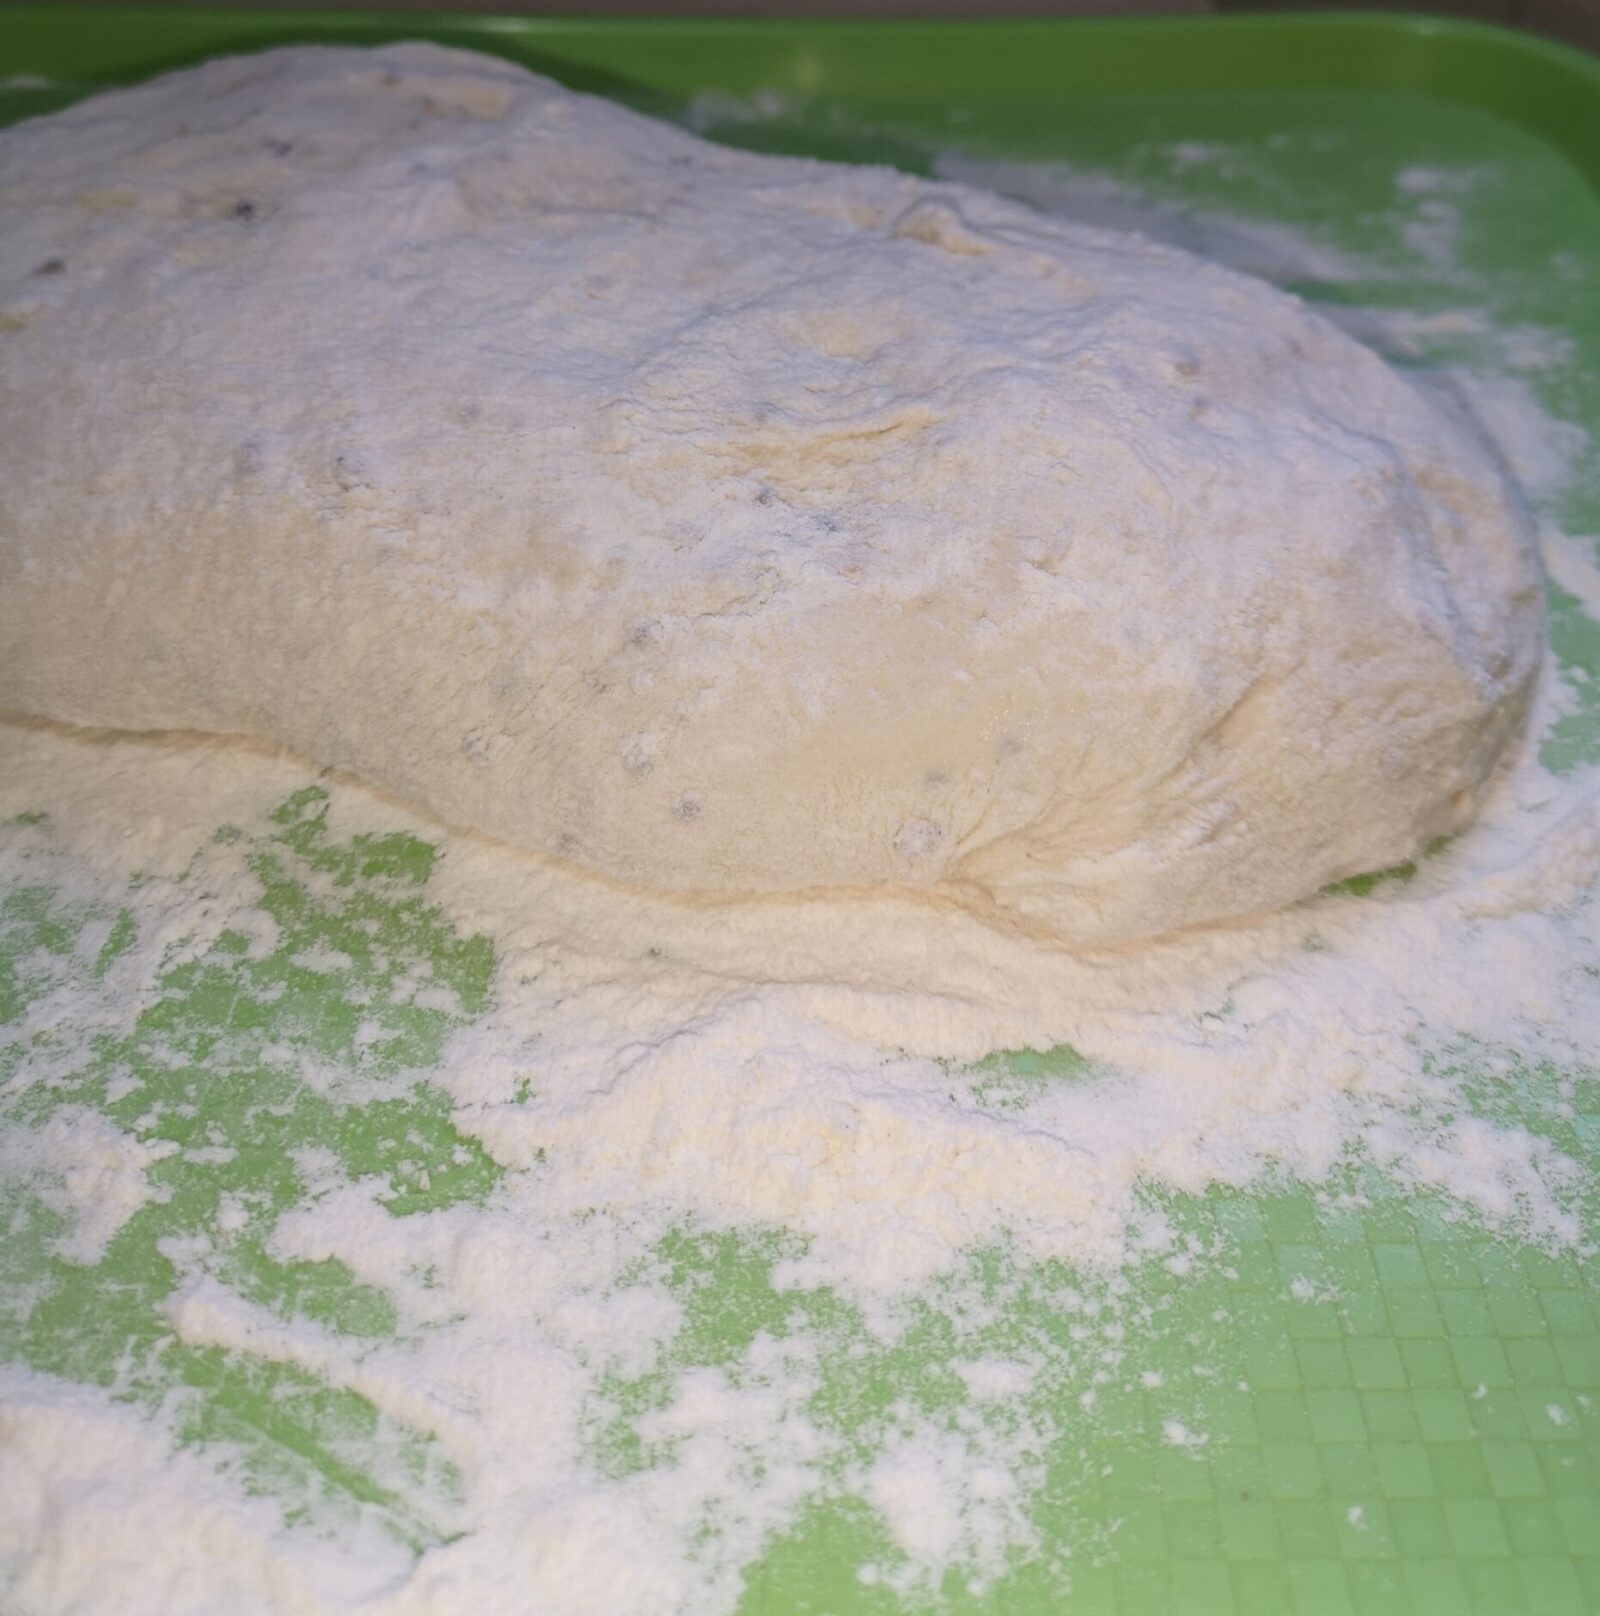
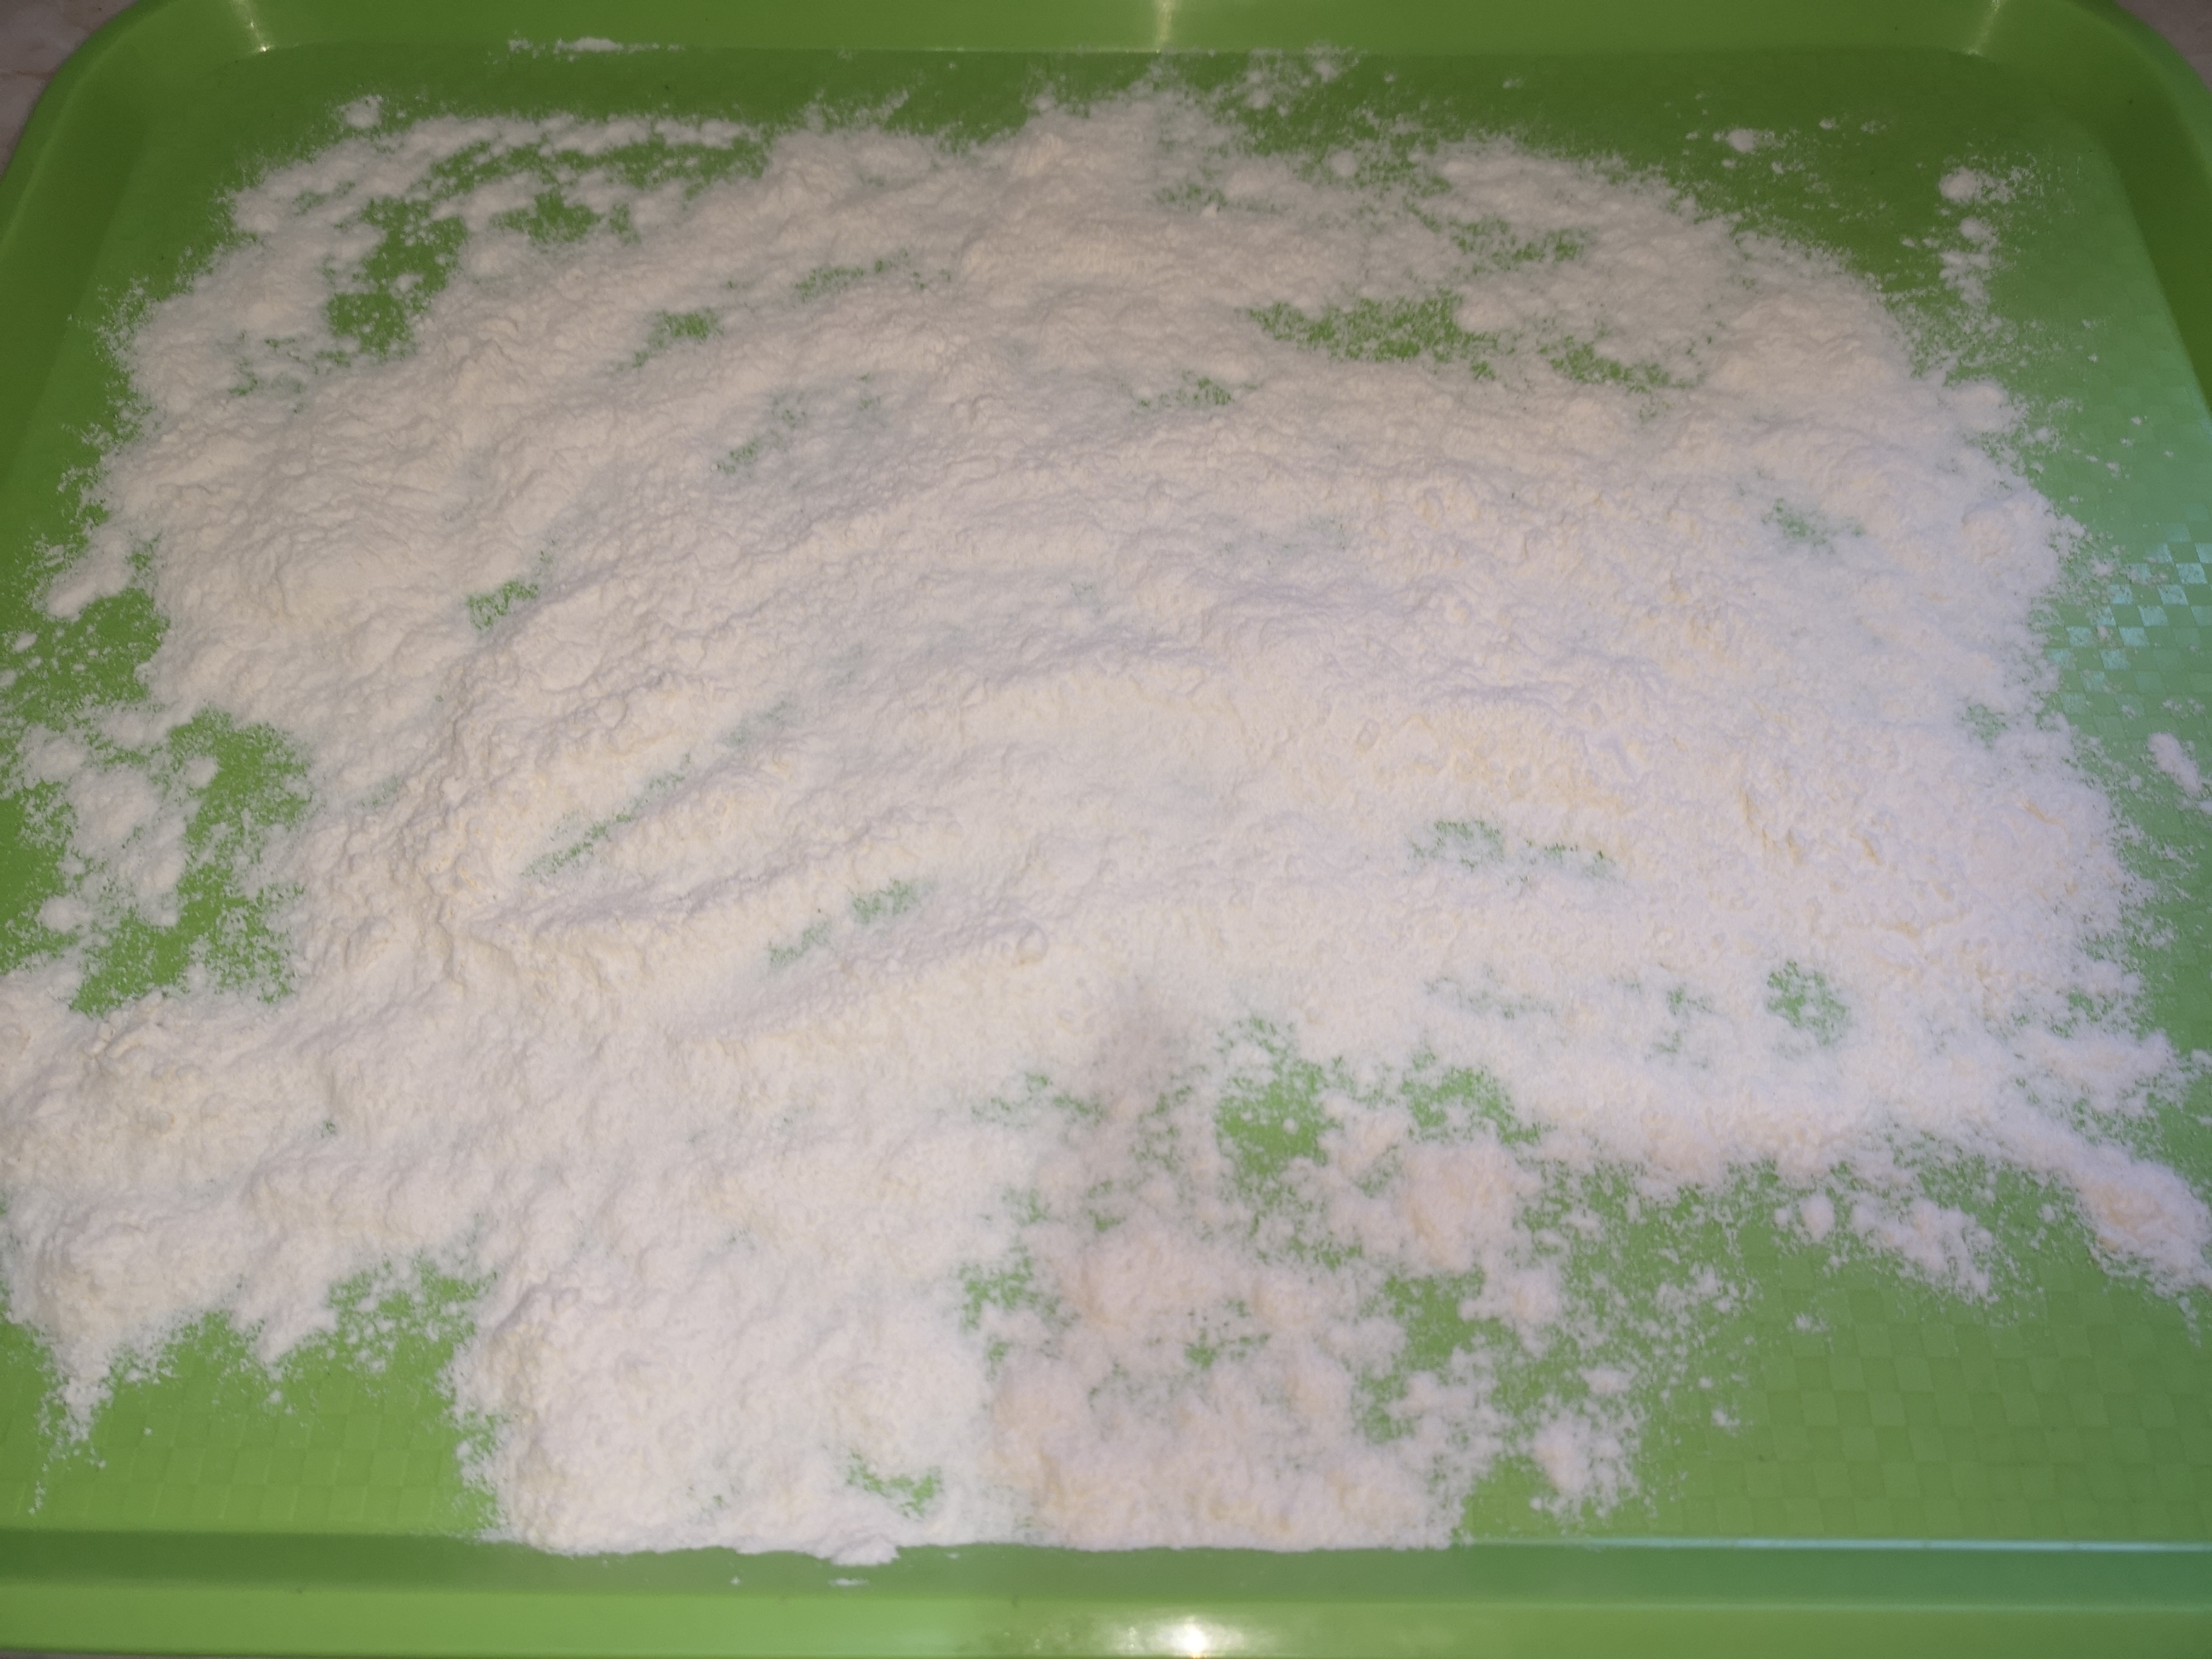
Additionally, flour helps to prevent the dough from sticking to surfaces, which is essential for successful shaping and proofing. Heavily flouring the surface of the tray, or clean kitchen surface, is highly important to help the dough hold its shape. The dough is much more likely to stick to the surface without the flour, making it extremely difficult to shape.
The Importance of Kneading Sourdough Bread
Gluten development is required for successfully making a sourdough loaf. Gluten is a protein found in wheat flour, which helps to give bread its unique texture and structure. Kneading helps to provide structure to the bread by adding more gluten; thus, building up the gluten network which is necessary to support all the gas bubbles created during fermentation.
Kneading causes the gluten strands to get stronger and longer, making it easier for the dough to hold its shape. If you have ever had bread that crumbles and falls apart while cutting a slice, chances are high that weak gluten development is the cause. To avoid this, significant time must be spent kneading the dough.
Over-Proofing
Over-proofing sourdough is a common error that can result in a flat, dense, and overly sour tasting loaf. This happens when the dough is left to ferment (proof) for too long, resulting in the breakdown of the gluten network and the dough collapsing in on itself.
To avoid this, it’s important to monitor the dough throughout the proofing process and pay attention to the signs that it is ready. These signs include an increase in size, a lighter, fluffier consistency, and an increase in activity on the surface of the dough. If the dough is allowed to proof for too long, it is still possible to salvage the dough by re-shaping and re-proofing. However, sourdough is notoriously difficult to re-shape after over-proofing. Your best bet is to flatten the dough and bake it as a pizza or flatbread.
Shaping Sourdough Correctly
Shaping sourdough correctly is essential for creating a beautiful, evenly baked loaf. After the dough has been mixed, fermented and proofed, it is ready to be shaped.
Pre-shaping and shaping are very important when it comes to oven spring in sourdough bread. Oven spring refers to the first 10-15 minutes after the dough is placed in a hot oven, when the dough rapidly rises.
To properly shape sourdough, fold and stretch the dough. The most effective way is to start at the bottom and fold into the center of the dough. Then, flip the dough over and let it rest for 10 minutes. Apply flour to your hands and gently cup the dough and move your hands in a circular motion. This will help tighten up the shape. It’s important to shape the dough as tightly as possible, while still being gentle, to ensure the gluten network is strong enough to hold its shape during the bake. Bakers can use a variety of tools such as scales, bench scrapers, and dough knives to help shape the dough.
The Effects of Too Much Water in Sourdough
Too much water in sourdough can cause a variety of problems such as a weak gluten network or a wet, sticky dough that is difficult to work with. This can lead to a dense, heavy loaf that doesn’t rise properly and has a gummy texture.
To avoid these issues, bakers must pay close attention to the hydration level of their dough. It is important to measure the flour and water precisely, as too much liquid can easily ruin a loaf. If the dough feels too wet, add a small amount of flour to help improve the texture and structure of the dough. Repeat this process until the dough has the right consistency.
Tips to Help Your Sourdough Keep Its Shape
- Pre-shape your dough to create a uniform structure and add strength before final shaping.
- Take your time in the final shaping step and use a gentle hand.
- Use a bench knife to help you shape the dough evenly and quickly.
- Give the dough a bench rest in between pre-shaping and final shaping to let the gluten relax.
- Monitor the dough closely during the proofing process and pay attention to the signs that it is ready (increase in size, a lighter, fluffier consistency, and an increase in activity on the surface of the dough).
- Make sure the hydration level of the dough is accurate to avoid a wet, sticky dough.
- Use bread flour if you can get your hands on it, as it will give the dough more strength and rigidity.
Final Words
We hope that these tips and techniques will help you create the perfect artisan sourdough loaf. With practice and patience, you’ll be able to shape your dough like a pro and enjoy the delicious, fragrant, and nourishing bread you create. Please remember to check out our dough storage tips.
As always, thanks for reading and be sure to keep your kitchen Hot and Salty!