
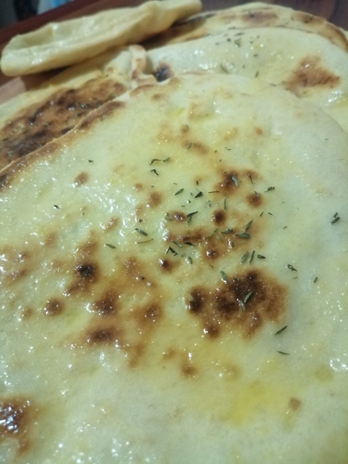
There are very few things that can be considered better than homemade, fresh-baked bread. Unfortunately for many, the prospect of kneading, proving, and baking bread is daunting at best. With a very slim margin for error, you need a substantial level of home-cook confidence to bake your own bread. Luckily, this recipe is an excellent way for you to step out of your comfort zone and try to snag some of that confidence! Turkish Flatbreads, better known in its region as, “Bazluma,” is a yeast raised, disk-shaped flatbread. Unlike most yeast raised breads, a key difference of Bazluma, with the exception of the shape, is that it utilizes yogurt (Greek or normal) as its source of enrichment, as opposed to butter or milk.
Getting the (dough) Ball Rolling
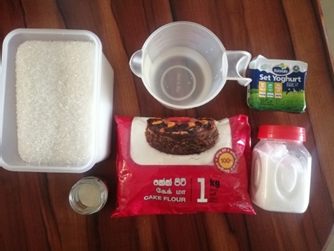
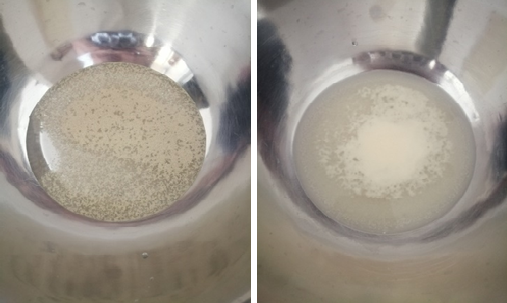
In order to get to the dough, first measure out all of your ingredients. Accuracy in this is key here. Start by adding your yeast and sugar to the room temperature water. Allow this mixture to sit until it turns foamy.
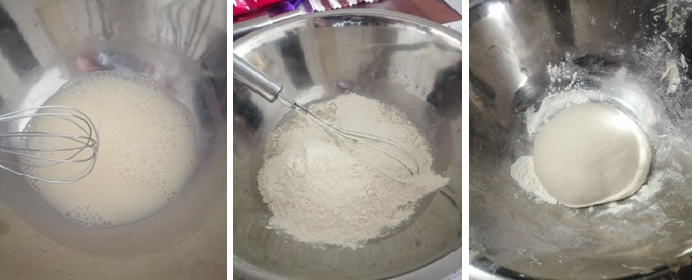
Whisk in the yogurt while gradually adding in the flour and salt. Combine until a dough is formed. Keep kneading this mixture until smooth. The dough may be quite sticky initially, make sure to add in the flour bit by bit until the dough becomes manageable.
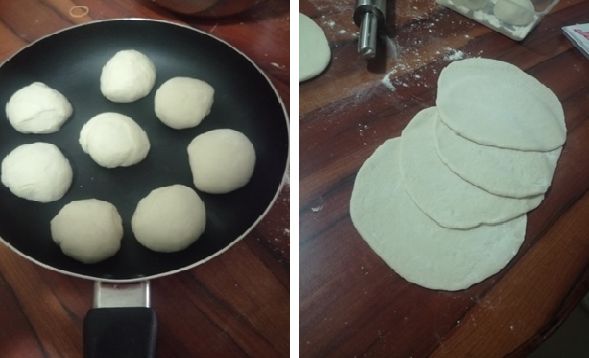
Divide the dough into 6-8 pieces (I recommend you use a scale for this) and cover. The dough need to rest for 10 minutes. After being rested, roll out the dough into a thickness of 1/8 inches and allow to rest, covered, for a further 10 minutes.
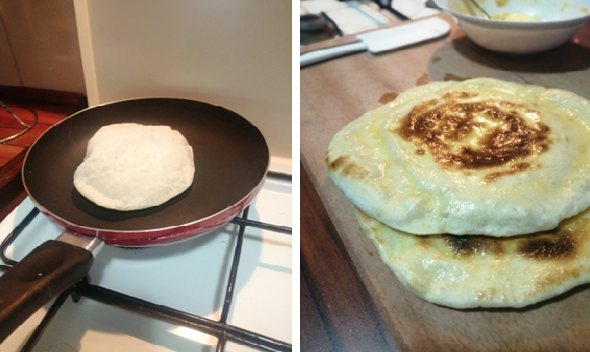
Allow a dry pan to come up to a medium-high heat and place a circle of rolled dough in. Allow the dough to cook for 2 minutes, or until bubbles appear on the surface. Flip the dough and cook for another 2 minutes on the other side before removing the pan from the heat and immediately brushing your flatbread with melted garlic butter. Repeat this process with the remaining dough balls.
Ensure to keep the cooked flatbreads warm while you cook the rest. Serve immediately and enjoy!
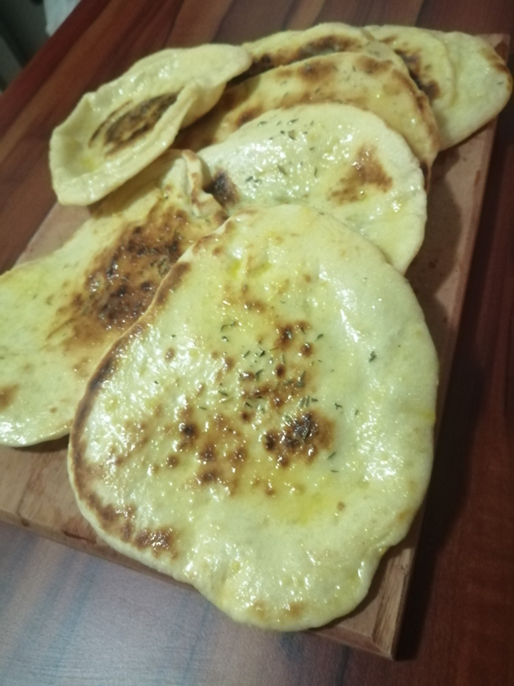
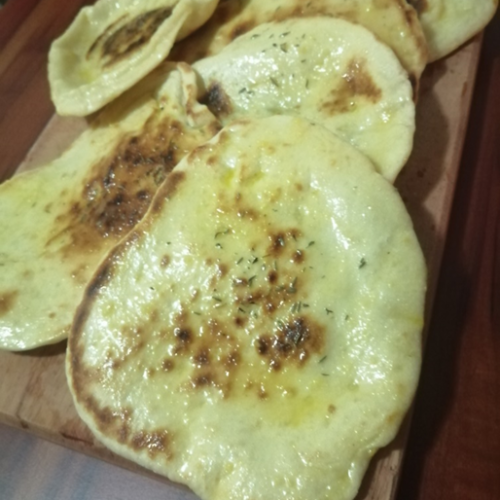
Turkish Flatbread
Ingredients
- 250 Grams Flour
- 2.5 Grams Yeast
- 2 Grams Salt
- 2.5 Grams Sugar
- 50 Grams Yogurt
- 150 Ml Water
- 20 Grams Butter
- 5 Grams Garlic Paste
Instructions
- Into room temp water, add the yeast and sugar. Allow to activate for 10 minutes.
- Whisk in the yogurt and gradually mix in the flour and salt, mixing all the while.
- Once a dough is formed, knead until smooth (about 20 minutes).
- Divide the dough into 6-8 pieces and roll into balls. Cover the dough and allow to rest for 10 minutes.
- Flour a work surface and roll out the balls into ¼” thick rounds. Allow to rest for an additional 10 minutes.
- Heat a dry pan and place a dough ball in and allow to cook on one side for 2 minutes. When bubbles have appeared on the top of the dough, it’s time to flip. Cook for a further 2 minutes, remove the bread from the pan and brush with the mixed butter and garlic paste.
- Repeat with the remaining dough.
Notes
Frequently Asked Questions
- Can this dough be kneaded by hand?
Yes! That is totally doable. But if you are short on time and have the resources, a kitchen mixer is an amazing tool to utilize.
- What type of yogurt is best?
Greek or plain yogurt works best. Just be sure that the yogurt you choose is not flavored.
- Why does it need to rest for so long?
The gluten in the flour needs to be rested after being balled up or rolled out. This will give you the best possible results when cooking.
Tips to Improve or Alter the Recipe
- The melted garlic butter can be subbed out or flavored with spices, herbs or seasoning mixes besides garlic. Rosemary would be amazing in this recipe.
- Top the warm bread with grated cheese for a cheesy version! This is my personal favorite.
- Onions, peppers, or similar vegetables could be finely chopped and added into the dough before separating.
- Once cooked, the flatbread can be opened out to form a pouch, which then makes it an excellent pocket for many kinds of fillings.
Things to Serve With
Best accompaniments would be hearty stews of curries of similar origin. The absorptive characteristics of the floury, airy bread allows it to mop up ALL the gravy.
Tips for Storage
The dough can be frozen before being proved for up to 6 months. It would need to be thawed before rolling out and shaping.
Once rolled and cooked, the flatbread will keep in the refrigerator for about one week. For re-heating purposes, steaming or heating in a microwave will help the flatbread to regain its soft texture.
Final Words
Take a trip to the Middle East with this super easy Turkish staple!
As always, thanks for reading and be sure to keep your kitchen Hot and Salty!